
Getting Started
Creating a Project
How to create a new optimization project in Cimbra.
Creating a Project
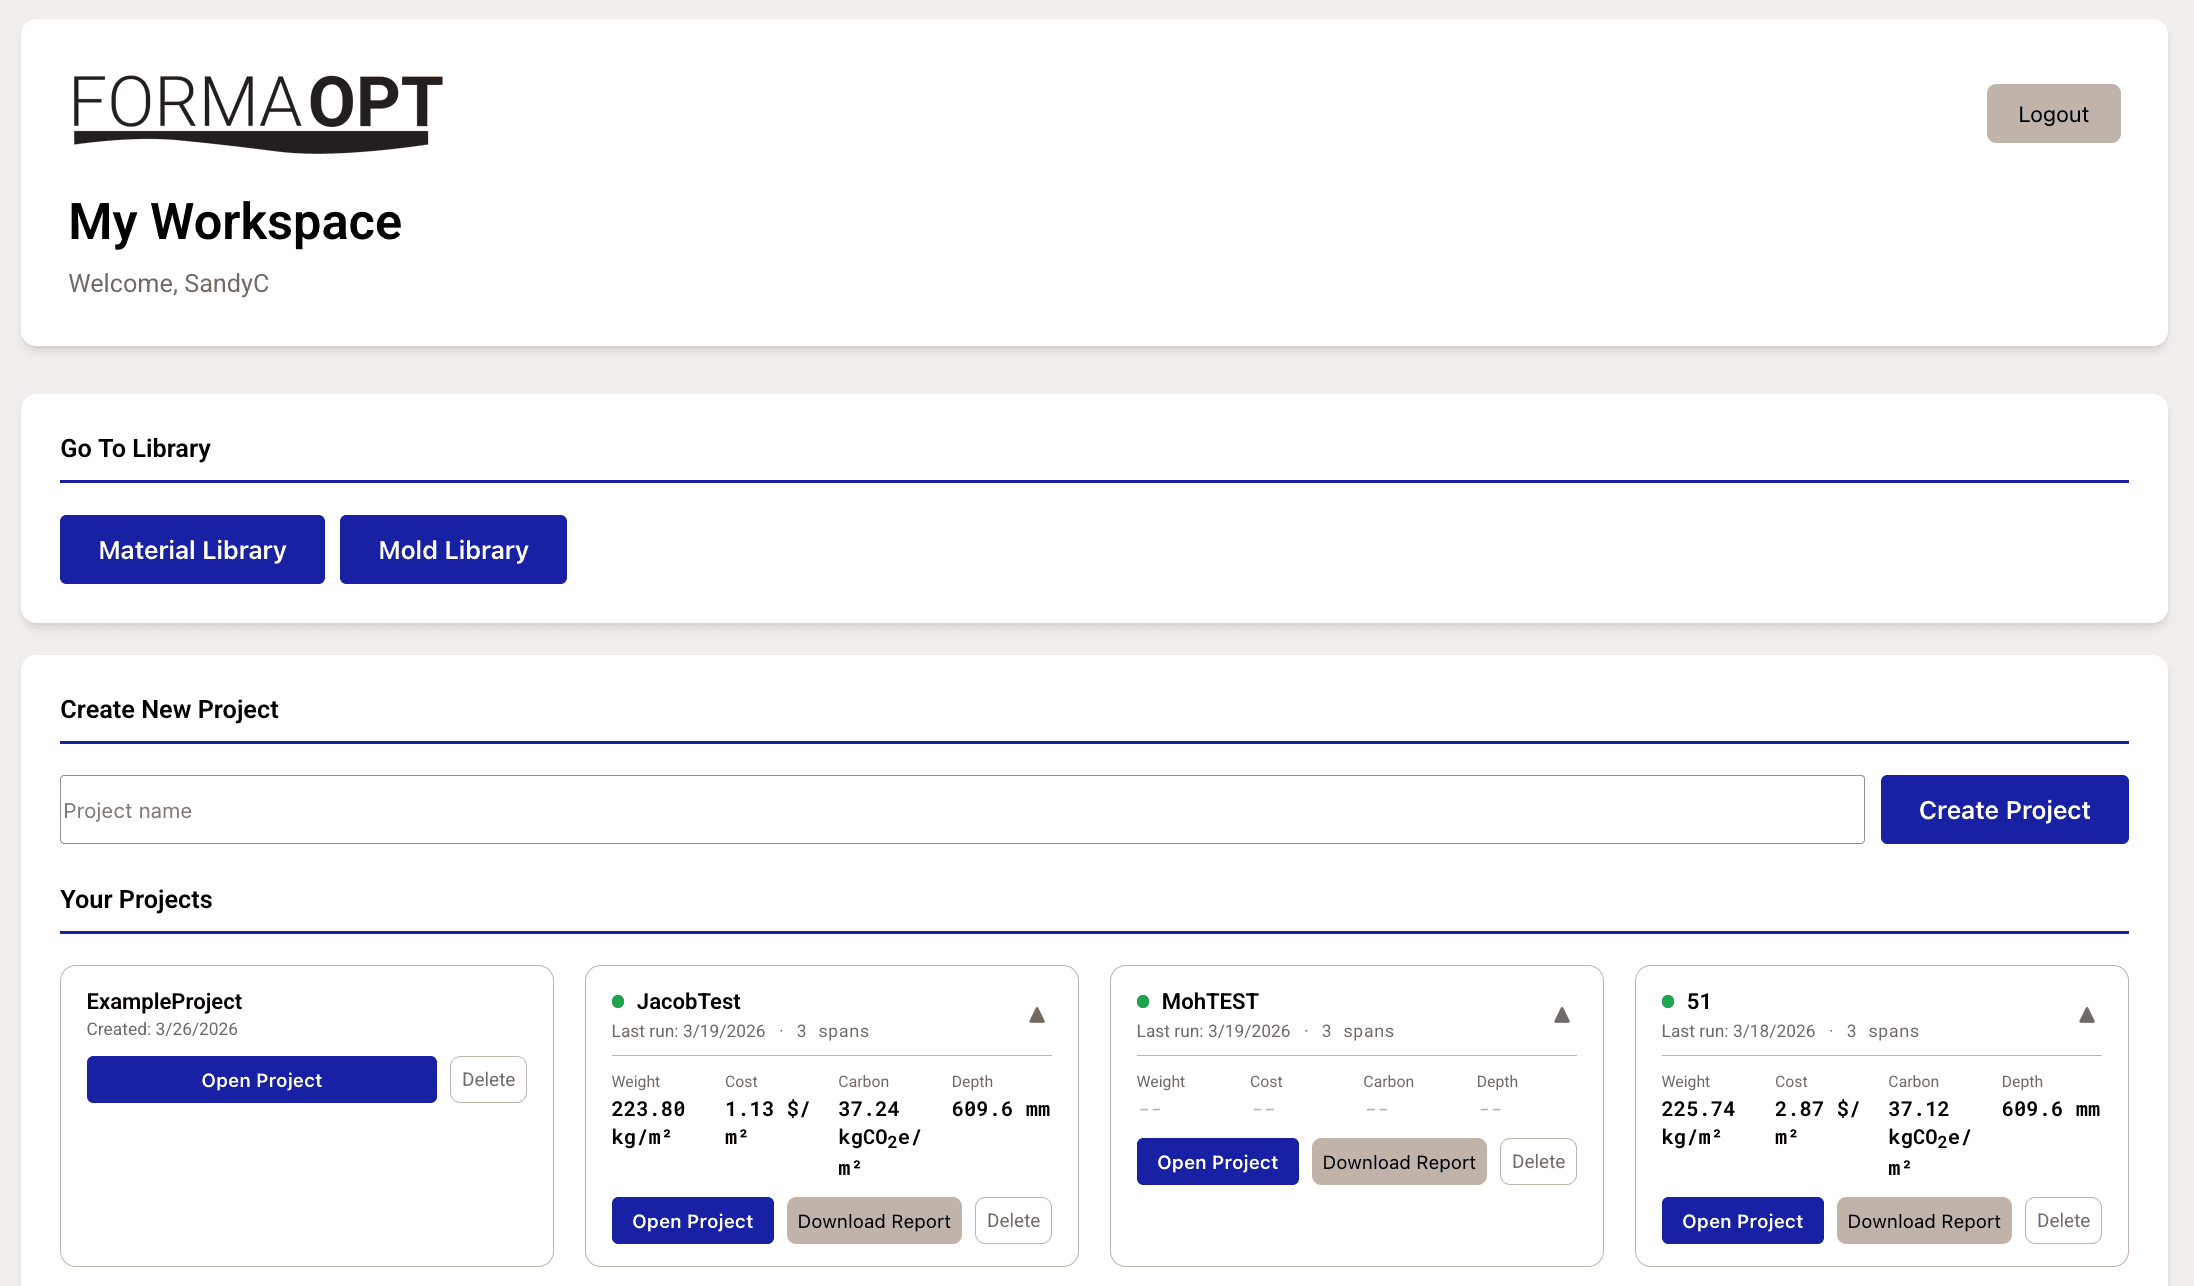
From the Projects Dashboard
- After logging in, you land on the Projects Dashboard.
- Type a project name in the text field at the top.
- Click Create Project.
- You'll be redirected to the project optimization screen.
Project Cards
Each project appears as an expandable card on the dashboard showing:
- Project name (click to expand)
- Last run date or creation date
- Status indicator — green dot means the project has optimization results
Expanding a card reveals key metrics from the last optimization run:
- Weight (kg/m²), Cost ($/m²), Carbon (kgCO₂e/m²), Depth (mm)
- For multi-span projects, the number of spans is shown
Project Actions
From the dashboard, each project offers:
- Open Project — navigate to the optimization screen
- Download Report — generate a PDF report (only available if results exist)
- Delete — permanently remove the project (with confirmation)
Data Persistence
Cimbra automatically saves your work:
- Form inputs, span data, mold selections, and material choices are persisted
- When you reopen a project, all previous inputs and results are restored
- A status message shows "Last optimization: [date]" when viewing restored results